Growing Lion's Mane
Instruction for growing
Native Lion's Mane mushroom
Congratulations on your native Lion’s Mane (Pekepeke-Kiore) grow kit! Follow these easy steps to grow your delicious mushrooms successfully. Remember, if you encounter any issues or need assistance, please get in touch with us at sales@mushborn.co.nz.

Figure 1:Lion’s mane mushroom harvested and kept under sunshine to increase its vitamin D, before drying out.
Step 1: Getting Started
Using a clean blade, cut along the marked line on the kit. Keep the bag taped over the cut to encourage mushroom growth.
Note: if your kit has good mushroom pinnings at the top like the following photo, you could open the bag from the top for the first flush and cut the side off bag for the second flush.

Figure 2: pinnings of Lion’s mane mushroom at the top of the bag

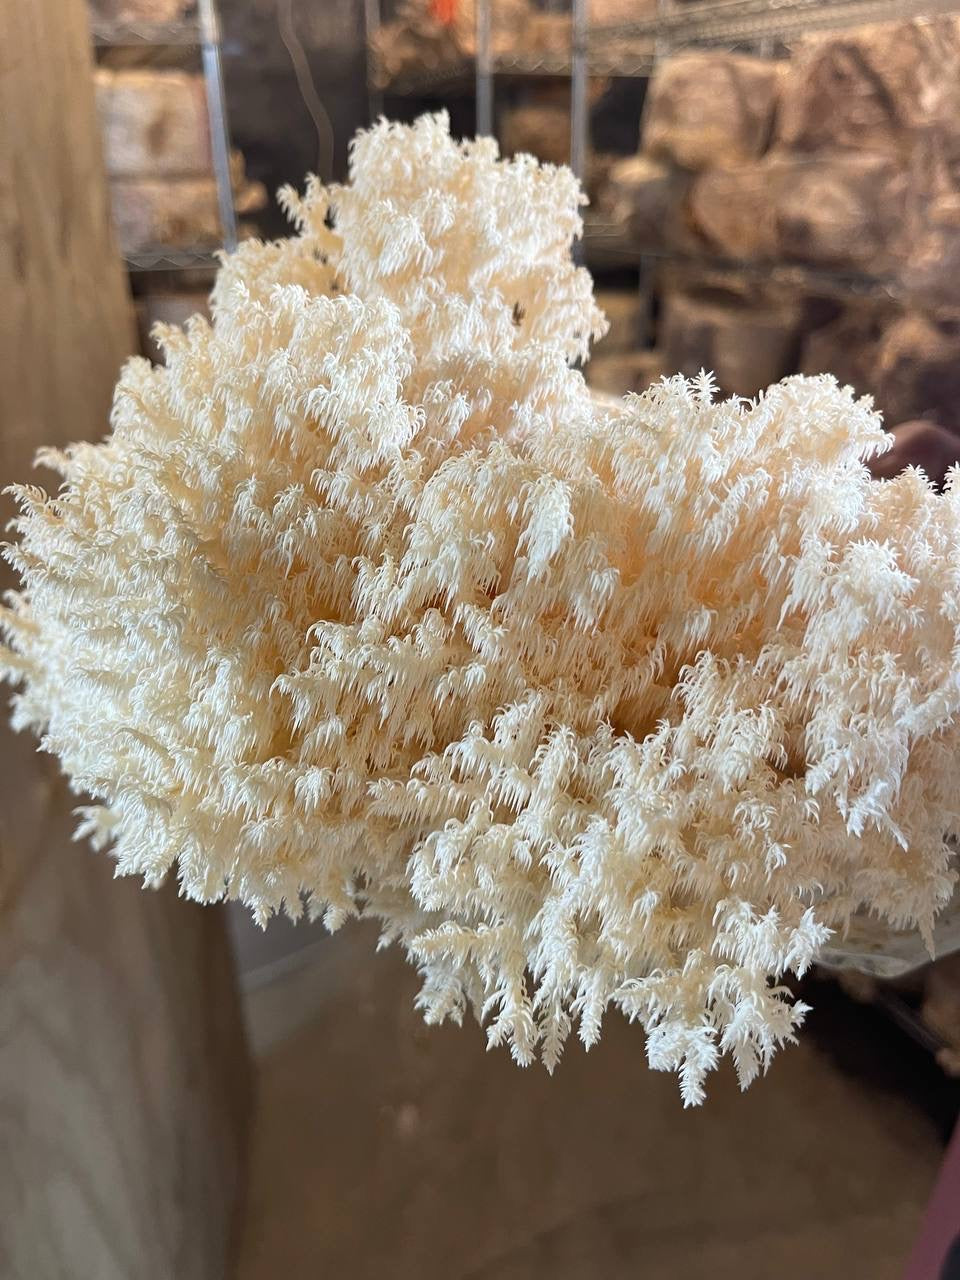
Figure 3: after 4 days spraying the top of bag, you have huge grown mushrooms
Step 2: Choosing a Growing Spot
Lion’s mane mushroom likes cooler and more humid environment, ideally, the best temperature would be around 18 centigrade degrees and relative humidity near %90. Find a prop indoor location with good air movements, like your kitchen bench, lounge, or bathroom. Avoid placing the kit near heaters in winter or air conditioners in summer, as these can dry out the mushrooms.
Days 2-14: Monitoring Progress
Keep an eye on the kit over the next two weeks. In warmer months, sprouts may appear faster. Please email us a picture if you don't see any sprouts after seven days.
Days 15-28: Near Harvest Time
The first sprouts will emerge from the cut. They will continue to grow slowly for about a week before accelerating. Harvest time can vary between 14 to 21 days, depending on the season. It's normal for some mushrooms to attempt to sprout inside the bag, but do not make additional cuts as they will naturally die off.
The Best Harvest Time
When the mushrooms stop growing for a day or two, and the tips darken, it's time to harvest. Grab the entire cluster with both hands and swiftly pull it away from the kit. Avoid cutting the cluster off. After harvesting, you can store the whole cluster, trim away the sawdust, and prepare it for cooking. Storing the mushrooms in paper bags or a plastic container lined with paper towels will keep them fresh for up to 5 days in the refrigerator.
Second Crop: Prepare for Round 2
After harvesting, remove any debris from the hole. The second crop will take about 10 to 21 days to sprout, faster in summer and slower in winter. Monitor the kit during this period, and if you notice any green or black growth, please email us a photo for assistance. Sprouts may appear around the edges of the bag, and you don't need to open the bag further as the mushrooms will reach the opening on their own. Don't worry if only a few mushrooms sprout; they will grow big! Harvest the second crop when growth stops for a day or two and some tips darken. You can repeat the steps above for a third crop if desired.
Once your kit has finished producing mushrooms, you can compost the bag or use it as top mulch for your garden beds. Enjoy your freshly harvested mushrooms, and happy growing!